MCP Server
monday.com MCP Server
Connect your monday.com data using Model Context Protocol.
Connect monday.com in Three Steps
Install the monday.com MCP integration, configure the bridge, and start automating.
Install the monday.com MCP App
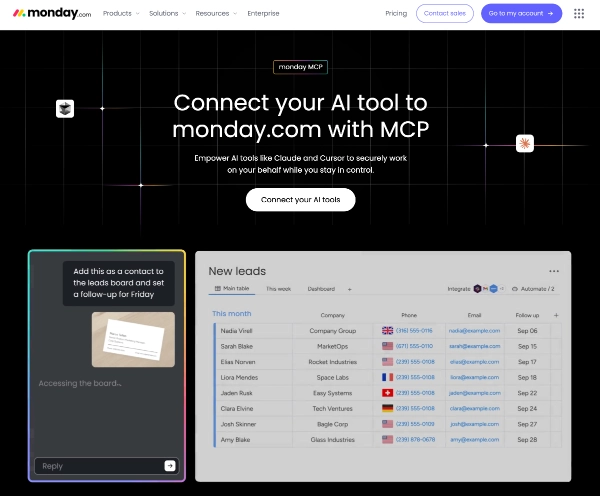
- Review monday.com’s MCP Server documentation.
- Click Connect your AI tools to open the monday.com Marketplace.
- Install the app to your account and finish the marketplace prompts.
- In monday.com, open Settings → Connections → Personal API token.
- Generate a token and copy it for later use.
Configure the Local MCP Bridge
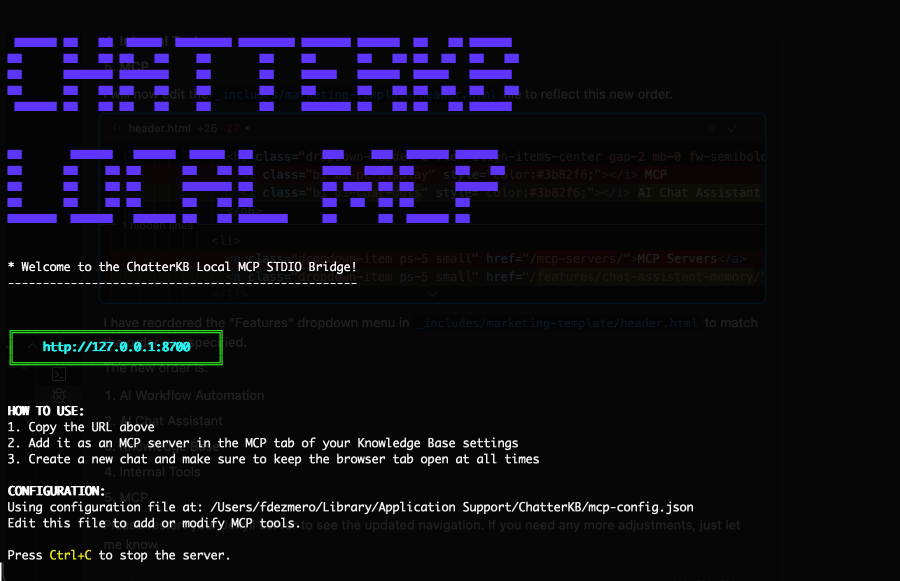
- Launch the Local MCP Bridge after installation.
- Open
mcp-config.jsonin your editor. - Add the monday.com entry shown here.
- Replace
your_monday_api_tokenwith the personal token from step one. - Save the file and restart the bridge.
{
  "mcpServers": {
    "monday-api-mcp": {
      "command": "npx",
      "args": ["@mondaydotcomorg/monday-api-mcp", "-t", "your_monday_api_token"]
    }
  }
}Verify and Start Building
- Confirm the Local MCP Bridge console lists the monday.com tools.
- Add the bridge to your MCP servers inside ChatterKB.
- Begin syncing boards, logging updates, or pushing automations via monday.com.
Connect Using MCP Today
Unlock powerful automations through monday.com’s MCP integration.